Getting Started
Getting Started with Single Sign On
Setting up a new Realm
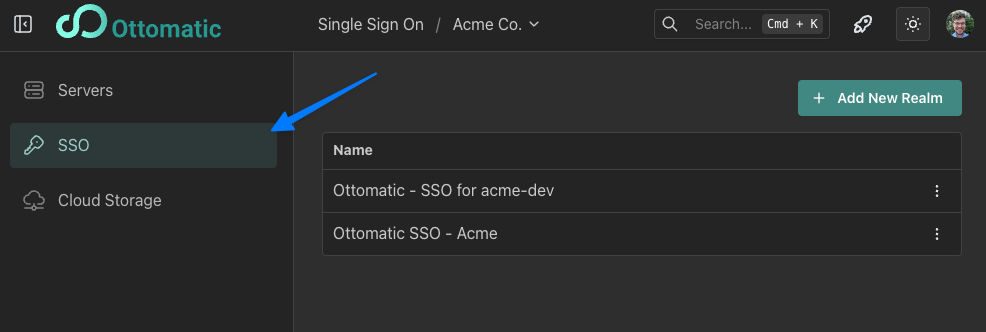
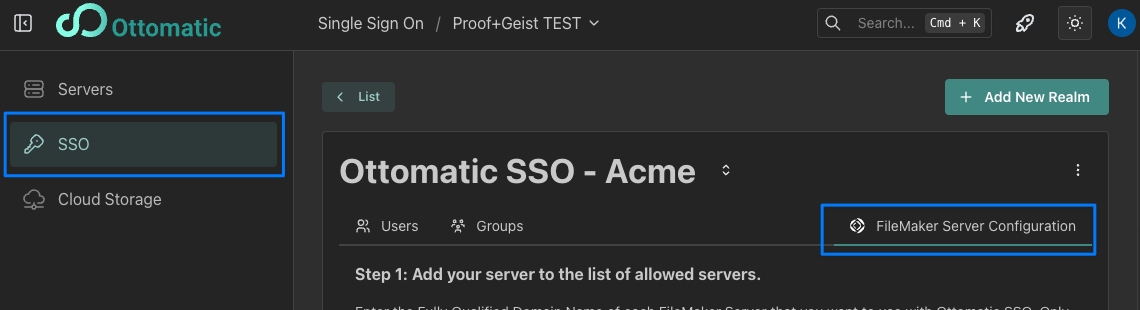
Head to the SSO tab on the Ottomatic Cloud Console
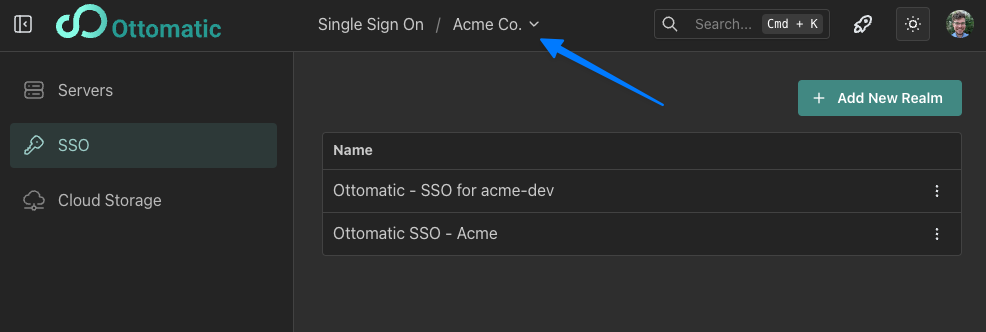
Ensure that the organization you wish to create the realm for is selected at the top of the page
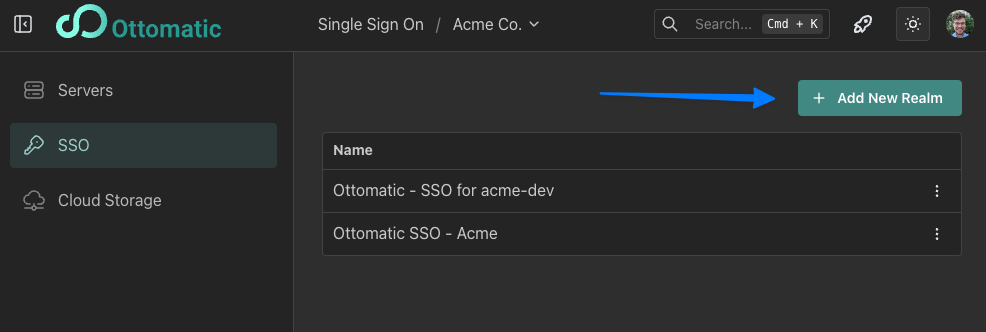
Click the "Add New Realm" button to start the New Realm Flow
Fill out the form that appears with a name for your realm, and an initial server to set up with the realm. More servers can be added later, and this server can be removed if you need to switch it out later.
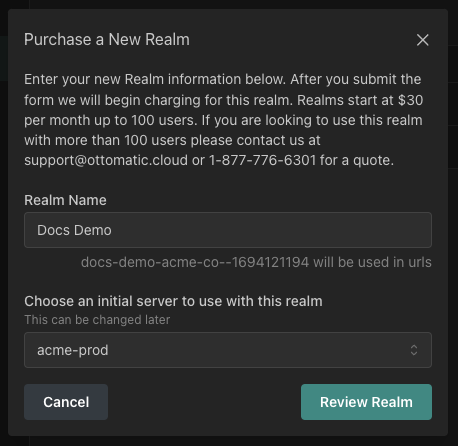
After this you will be prompted to review the realm details and submit.
Once you've submitted your new realm it should take a minute or two to get spun up. After it finishes you should see it in the Cloud Console immediately, ready for use!
FileMaker Setup
To use an Ottomatic SSO realm on your FileMaker solution, you'll need to set up your server and your solution to work with the realm.
Server Setup
For FileMaker version 21 and higher the Cloud Console can set up your server to use SSO using the FileMaker Admin API.
To begin, head to the "FileMaker Server Configuration" tab of your realm.
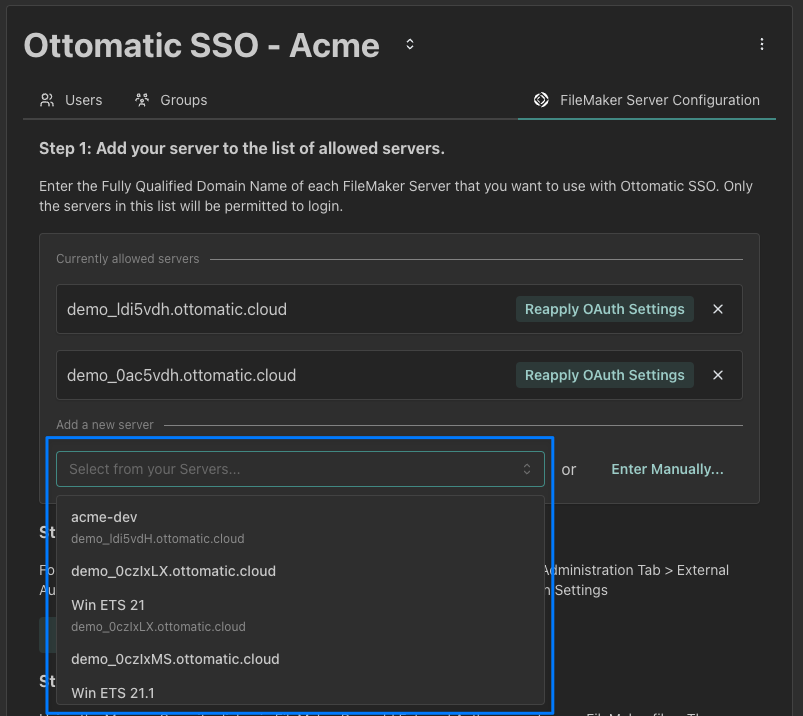
Choose the server you would like to set up with your realm from the "Select from your Servers..." dropdown
Servers running FMS version 21 or higher will have a window pop up that lets you know that you can set up the realm via the API. If the window does not pop up, double check your server's version, and refresh the server info on the Cloud Console to make sure it has the most recent version.
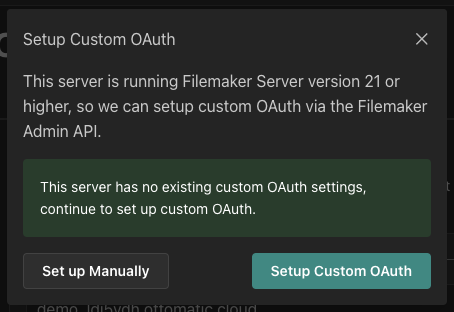
This window will check if your server already has custom OAuth settings set up.
To continue, click "Setup Custom OAuth".
The Cloud Console should load for a second and then show you the confirmation below. If you have any issues, reach out for support.
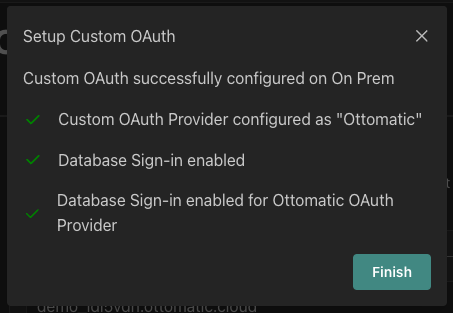
Now that your server is set up, you can set up your files to use the new OAuth setup.
Before FileMaker Server version 21, server setup needs to be done manually.
To begin, head to the "FileMaker Server Configuration" tab of your realm.
Choose the server you would like to set up with your realm from the "Select from your Servers..." dropdown
This will add the server's url to the list of allowed servers at the top of this page.
Now that your server is allowed to connect to the realm, we can set up the Custom OAuth on your server. For servers running FIleMaker Server versions below 21, you'll need to do this setup manually. It's recommended that you have the Cloud Console and your server's FMS Admin Console open side by side for the next couple steps, as you'll have to transfer over a few details.
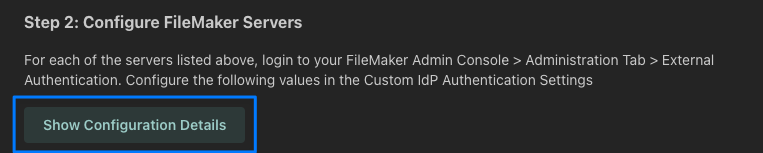
Open up your realm configuration details using the "Show Configuration Details" button.
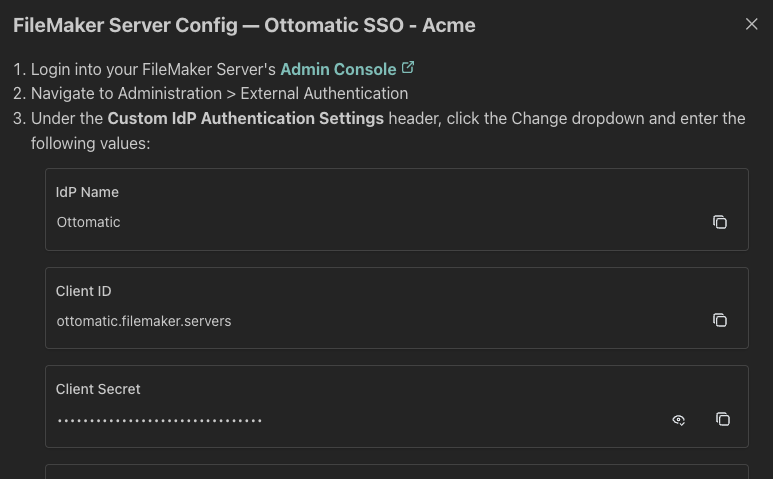
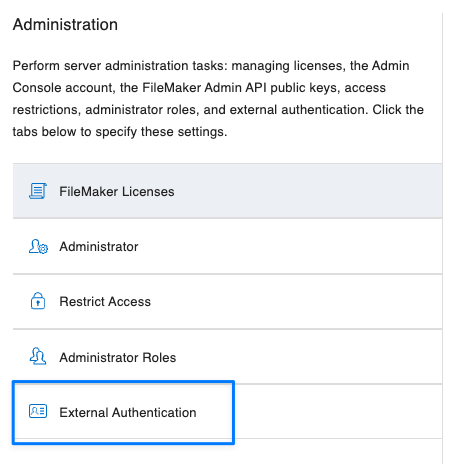
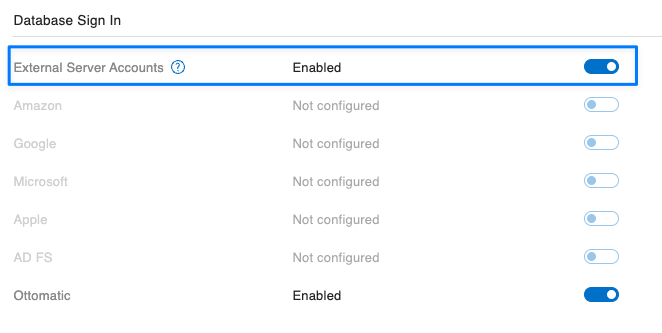
This window has a list of all of the details you'll need to add to your FileMaker config. Head to your Admin Console, and head to the External Authentication Settings:

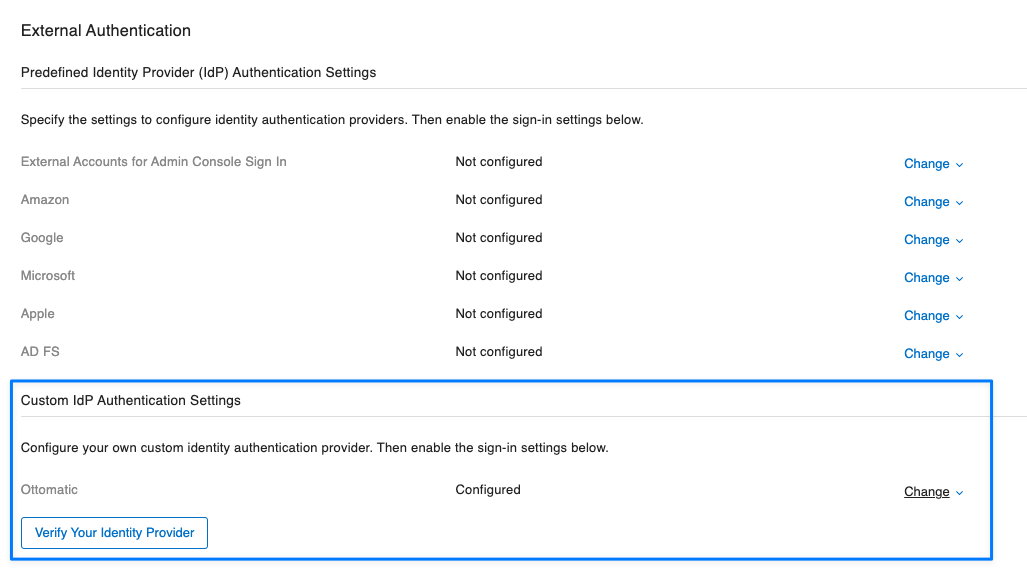
Open the Custom IdP Authentication settings and enter all of the details from your realm config details into the fields with the same names on the Admin Console.
You'll need to enable External Server Accounts and toggle on Ottomatic to allow users to log in using your new custom OAuth:
Your server is now set up to use your custom OAuth! To make it work with your files, check out the File Setup section below.
File Setup
To use your Realm with your FileMaker Files, you'll need to set up External Authentication Groups in the file. It's recommended that you set up your Groups in the Groups tab on the Cloud Console before setting them up in your file, as the names have to match exactly. To set up your groups on your realm, check out the group management page.
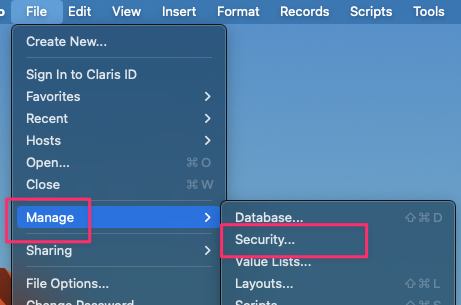
External Auth Groups can be managed from File > Manage > Security
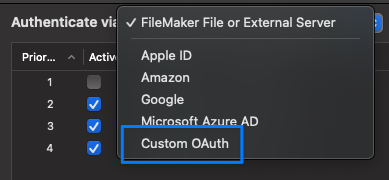
Then select "Custom OAuth" as the Authentication method.
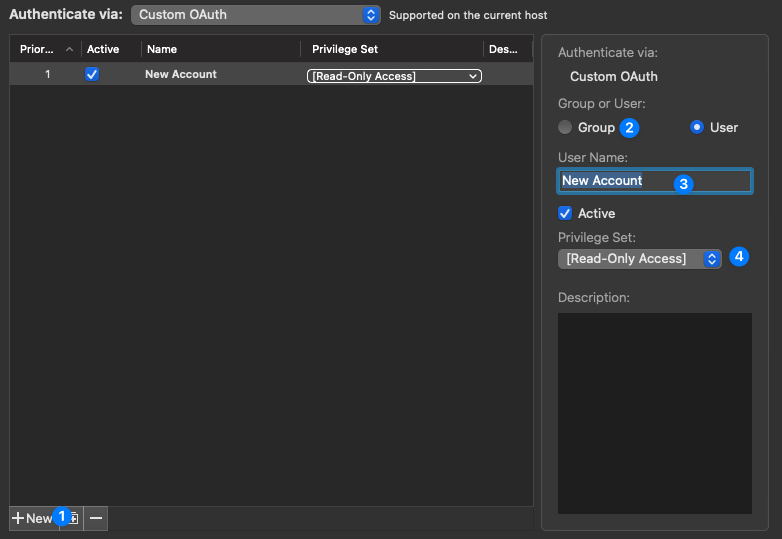
For each Group you wish to add to your file, you'll need to:
Add a new Group
Define it as a Group
Name the Group (Copy the name from the Cloud Console Groups tab)
Choose a Privilege Set for the Group
Once you have all of your groups set up how you like, your file is ready to go!