Managing Users
Managing Users
Users and Groups can be managed from the Ottomatic Cloud Console.
Users
Ottomatic Single Sign On allows each user to log into all files where Single Sign On is enabled. Users can be added from the "Users" tab on the Single Sign On page:
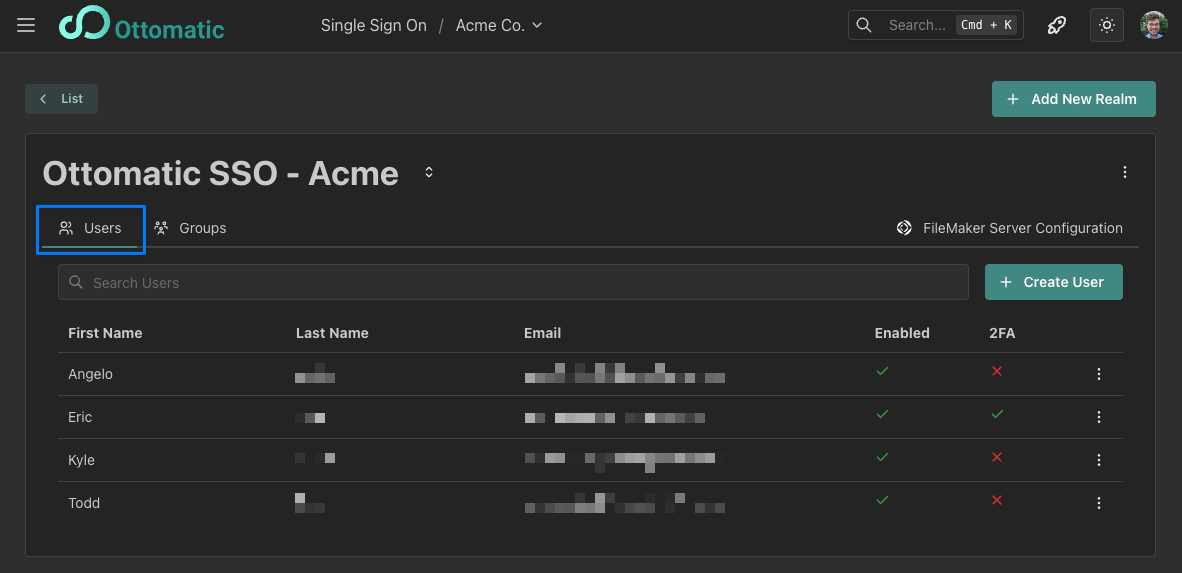
When a user is added, an email will be sent to them which requests confirmation of their email and requires them to reset their password.
Users can self-manage their password and 2-factor authentication from the login screen.
User Options
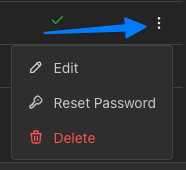
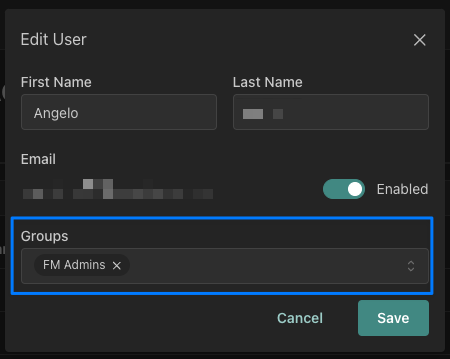
The Edit button in the user menu lets you change the user's name, manage their assigned groups, and enable or disable their account. This menu can also be accessed by clicking on the user's row in the table.
The Reset Password button allows you to send the user an email to set up a new password or you can set their new password yourself.
The Delete option will remove a user from this realm, preventing them from logging in going forward. If you want to be able to add a user back easily later, we recommend using the "enabled" option in the Edit user menu.
Groups
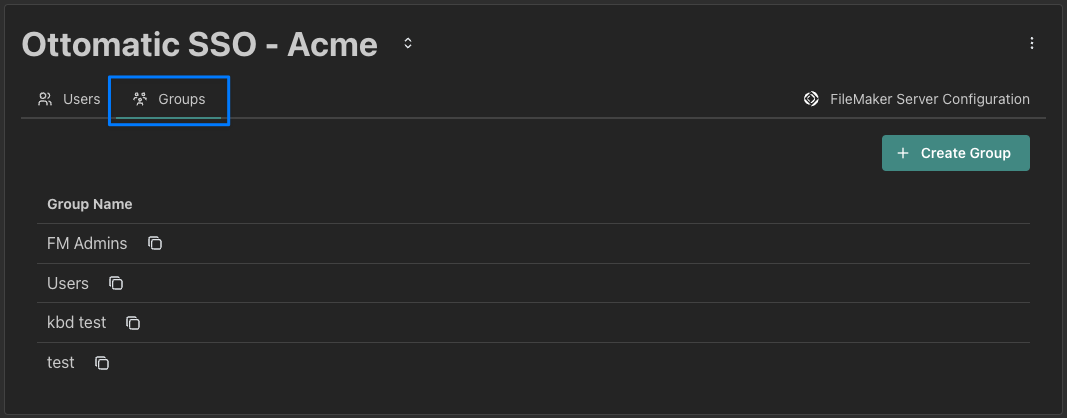
Each SSO group corresponds to an External Auth Group in your FileMaker application. The group name in the Cloud Console must correspond to the group name in FileMaker. To make setup simple, you can copy the group name right from the Groups tab of your SSO realm.
Creating a new group can be done from the "Create Group" button in the top right of the groups tab.
You can add users to groups from two places:
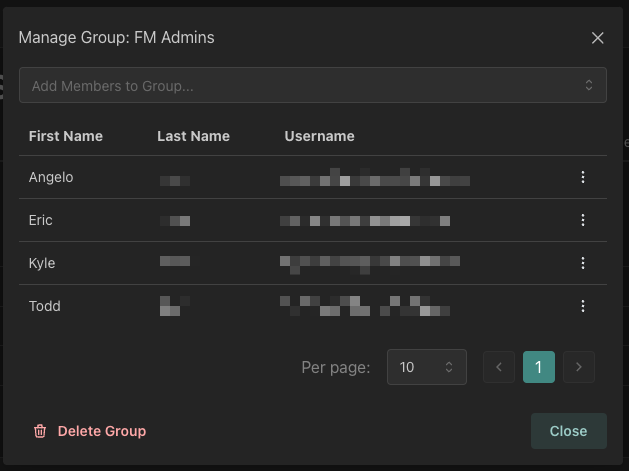
From the Groups tab, you can click on a group to open up a dialog that allows for user management for that group
From the Edit User menu, you can add and remove groups from that user.
Group access is managed from your FileMaker application.